Wednesday, August 31, 2016

Storing "Stuff"

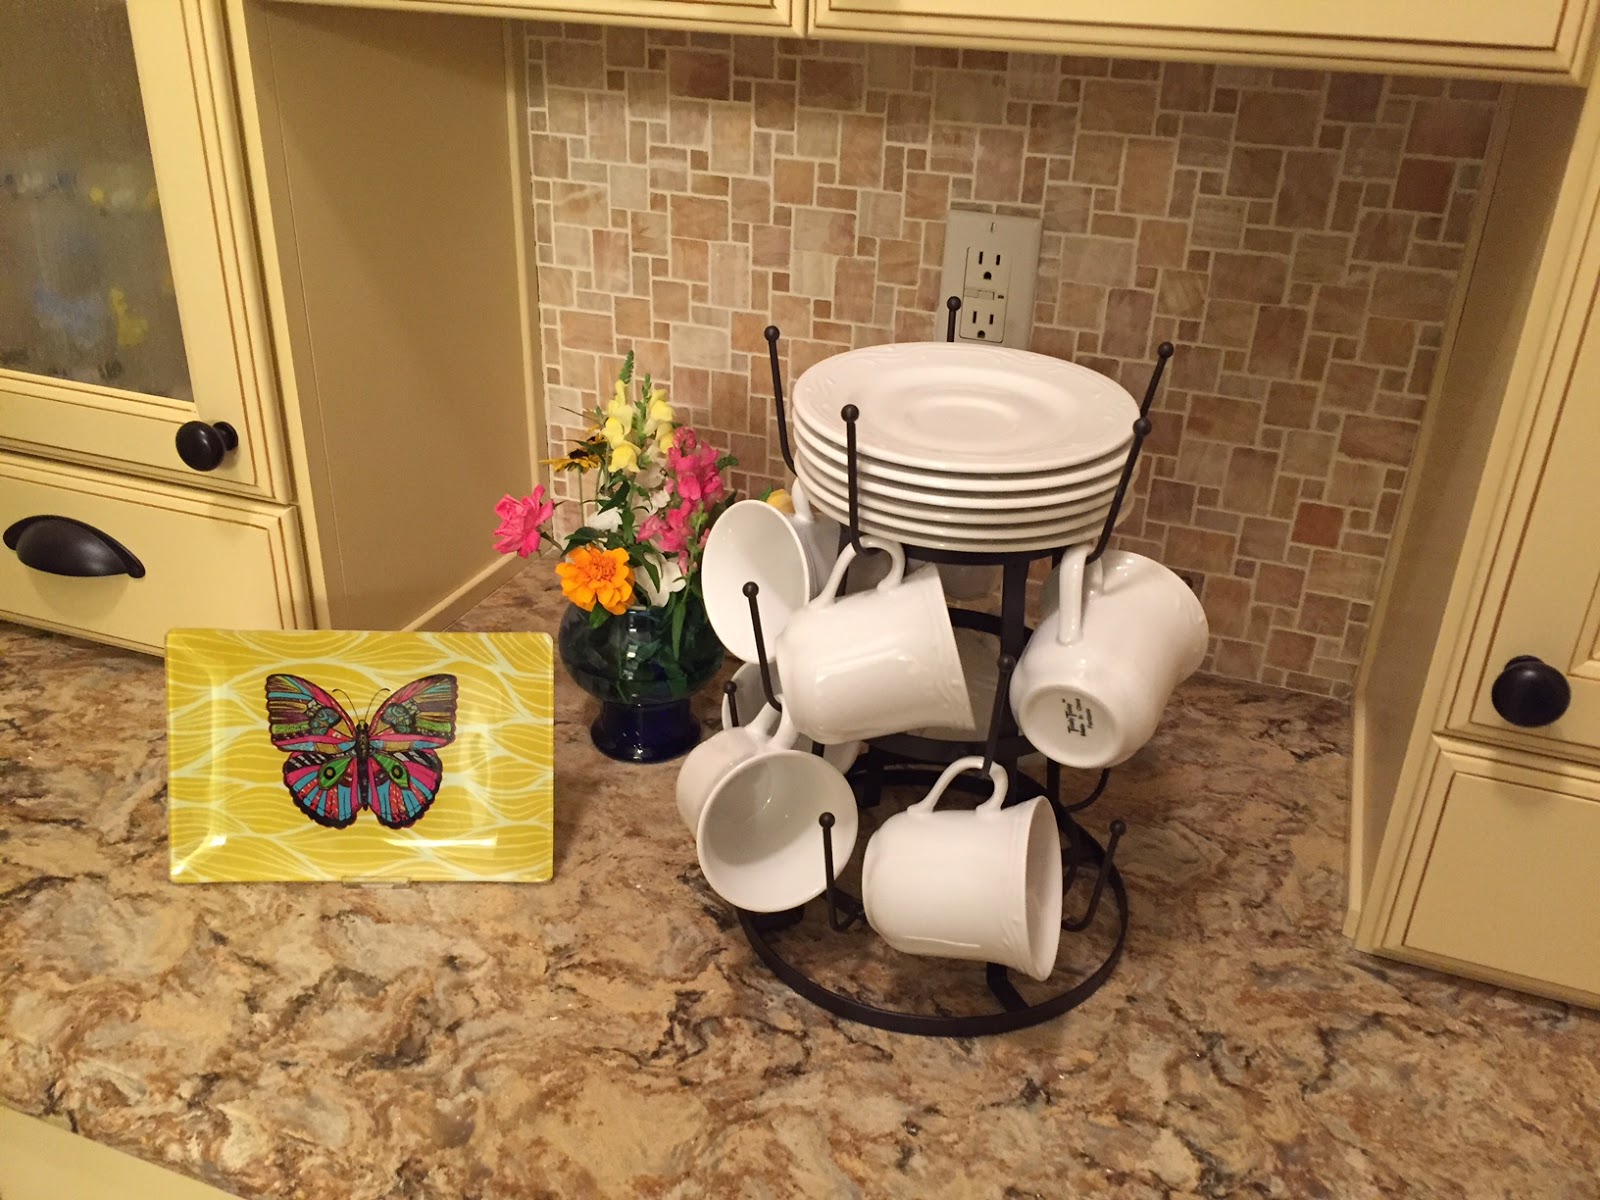
I'm often asked where I store my "stuff". Dishes, glassware and linens take up residency in the kitchen cabinets and pantry, butler's pantry and dining room. Some of the pieces are on display in the cabinets with glass fronts. We opted for a vintage look and went with seeded glass, which is the reason it doesn't look very clear in these pictures.


I also use my treasures in vignettes for seasonal decorating and enjoy "rotating" my things so that we have a fresh look. Using what I have and creating new combinations is sort of the way my brain works. I'm not one to go out and buy something, however, I do take advantage of wonderful deals when I stumble upon them at yard sales! Most of what I have has been acquired,  through my life, as precious gifts from dear family, friends and schoolchildren/families.

I have a cabinet about five feet wide with double doors in the basement where my floral arrangements stay hidden out of view (and protected from dust) while not in use. It's a repurposed piece of furniture which I've had for eons. Here's a peek of one of the shelves just to give a small idea.

Seasonal decorations (aside from Christmas...and that's another post altogether!) are kept in labeled bins on plastic shelving in the basement. I began buying these tubs when we were first married by getting a few at a time as they went on sale. They literally still sport the same labels, even though the contents are tweaked over time. Here, for example, is the apple bin which I will pull out next since it's almost September.

Now you know how I store my "stuff" and realize it's nothing special! I fully realize that these are just possessions, but I do enjoy the sentimental value and history of my things. I think it's important to be selective in what you keep because I feel you should use and enjoy what you have. I think it's best said by William Morris in his quote:

Have nothing in your house that you do not know to be useful or believe to be beautiful.


Tuesday, August 30, 2016

Tuesday's Tablescape

Don't you love sunflowers? They're so vibrant and cheerful! I set this table when I got home at lunchtime and since the sun was shining , the sunflowers seemed so fitting for a late August day. No sooner had I finished, when the winds began blowing and skies opened. I waited for the rain to clear so I could take pictures with a sunny backdrop, but I don't think it is going to stop.


At a yard sale earlier this summer, someone was selling a box of these Pfalzgraff dishes. You know me; I need more dishes like I need a hole in my head. Showing great restraint, I just looked. Wow! The colors grabbed me! It wasn't a complete set (by any means) but various pieces were tossed together in a box with a $5 price tag. My mother also loved them and said that I had to get them, so I did! I weeded through the stack and kept only the perfect plates. I donated the chipped ones  since crafters routinely shop thrift stores for plates, cups and saucers to use in projects and it doesn't matter if they have imperfections. In the end, I tucked four dinner plates, four salad plates and two bowls in my cupboard. All are in pristine condition.


Since I only have two bowls, I just inverted one to serve as a base for the other, which could hold a plant. Notice how many of the little shamrocks have folded up, though. Even they prefer the sunshine!
This gold tablecloth perfectly matches the sunflower dishes. Would you believe that it's older than I am? It was a wedding gift to my parents and since none of their current tables are the right size for the cloth, I got it because it fits my kitchen table just right!

Since this table post is late, I think it's safe to assume that dinner won't be on time either!


Monday, August 29, 2016

Peach Cobbler

Although the peach season has all but wound down, we're still enjoying it. We have a favorite variety someone introduced to us several years ago. Contenders are medium in size and huge in flavor! One of their best qualities is that they don't brown after being cut! Each year we order a half-bushel from an IL farm across the river and keep them refrigerated  until time to use so that we can stretch their enjoyment over a few weeks. We have one remaining tray.We like them just sliced in a bowl, as topping  on pancakes and mixed in hot cereal. I've also prepared a peach pie (which I froze for later) and a couple of peach cobblers so far. I made one of the cobblers using this recipe which my mother shared with me.

Fresh Peach Cobbler

  • 6-8 fresh, ripe peaches (about 5 cups), peeled and sliced
  • 1 teaspoon vanilla
  • 1 tablespoon fresh lemon juice
  • 1 teaspoon ground cinnamon
  • 2 cups sugar, divided
  • 1/2 cup butter, melted (about 1 minute in the microwave will do)
  • 1 cup all-purpose flour
  • 1 tablespoon baking powder
  • 1 cup milk
  • 1/4 teaspoon salt

Directions:
1. Pre-heat your oven to 375 degrees
2. Pour melted butter into a 13x9 inch baking dish
3. In a medium sized bowl, sift together 1 cup of flour, 1 cup sugar (reserve the other cup for the peaches), 1 tablespoon baking powder and 1/4 teaspoon salt.  Add in 1 cup milk and stir just until all ingredients are combined.  Pour the batter over the butter.  DO NOT STIR.
4. In a large saucepan, combine sliced peaches, 1 cup sugar, 1 teaspoon vanilla, 1 tablespoon fresh lemon juice and 1 teaspoon ground cinnamon.  Bring this mixture to a boil, stirring constantly.  Pour the peach mixture evenly over the batter.  DO NOT STIR *Note: One option for modifying this recipe to make it less sweet is to use 1/2 cup sugar here.  Also, the order IS correct.  Butter, batter, peaches.  During baking, the batter rises above the peaches!
5. Bake for 40-45 minutes, or until the top is golden brown,
6. Cool slightly before serving.


I think you'd enjoy this peachy summer dessert!

Friday, August 26, 2016

Mr. Rabbit

After meeting a friend for a delightful lunch yesterday, I ran a few errands. I stopped at the grocery store for a couple of items and as I made my way up to the check-out, I passed through the floral department. They had a table containing various pieces of seasonal merchandise with a large "GARAGE SALE" sign. This is what stood out to me.

It's the bicycle that caught my attention. I curiously turned over the price tag attached to Mr. Rabbit's ear and found that it was $5! I thought perhaps he was sold separately so I inquired. No, it was one set. At that price,  I reasoned, I could ditch Mr. Rabbit and use the bicycle. Since I collect stuffed animals for a few different organizations/causes, I knew I would easily find a good use for the giant bunny. Once in my shopping cart, his head and ears obstructed my view so I cautiously proceeded to the cash register. The cashier and bagger were shocked at the reasonable price! It was pretty funny to see people's reactions as I made my way through the parking lot with bike-riding Mr. Rabbit towering out of my cart! I wrestled my treasure into the car  with my bags of food, and little room to spare, and brought it home.


I've already decided that these two planters will contain vining florals next spring. I'm thinking morning glories.


My old fashioned bike will just be tucked in one of the planting beds beside shrubs or flowers so that it looks something like this...


or this.

Since it's late summer, there isn't growing time to plant the pots now. I will next year, though! Can you imagine little floral vines weaving themselves in between the spokes and around the handlebars? Can you also imagine some child hugging Mr. Rabbit?

Mr. Rabbit and I hope you enjoy your weekend!


Thursday, August 25, 2016

Copper Pumpkins

It's entirely too early for me to think about fall decorating, but I read about these copper pumpkins and wanted to give them a try. They are cute and easy peasy  to assemble!

You will need:
I don't happen to use copper scrubbers, so I needed to purchase a package. I found three count sleeves of "Brillo Basics" at the dollar store.


Regular wire was suggested (as shown on the left) but I found that it was too similar in color to stand out. You could try silver wire for more of a contrast, but we keep "Twist Ties" on hand. Also from the dollar store , this twist wire is perfect for garden use. It comes with two spools, but you can see we've already depleted one since we've had it for a long time. I thought the green color made it more authentic for my little pumpkins.

You'll also need thin branches to serve as pumpkin stems and green felt for leaves. Rather than felt, though, I snagged some small leaves from my artificial plant stash in my craft room and used those instead. I did need to trim them to size.


"Pouf" a copper scrubber to achieve the shape you'd like.
There is already a small hole in the top of the scrubber and you can insert a small stick into that space to make the stem.


Next, you wrap some of your wire around a pen to form soft curves on both ends. Twist the piece around the stem.

You can make little leaves from felt or trim artificial leaves to size. Attach them with hot glue.


I think it would be cute to have a little basket of these. Maybe you'll want to try making some to have on hand for this fall. Are you ready for cooler days, autumn leaves and pumpkins?

Wednesday, August 24, 2016

Merriment

Mary Engelbreit is a local St. Louis artist and children's author. I adore her work and have been a fan for years. I'd hardly say that I am a collector, but I do have a few of her things and it all began with this print! Our district's teachers have annual raffles to raise money for charity and one of the available items (about 20 years ago) was this adorable poster. I never expected to win but, jokingly, told my friends I was going to take it home with me. One of my friends was coordinating the program and when he approached me to inform me that I was the winner, I laughed. I think it took me a few minutes to actually believe him! Once I got my new treasure home, I decided to hang it in my craft room and that's how Mary Engelbreit became the decorative theme of my space.        (Pardon the terrible glare. Despite the angle, I couldn't avoid it and it's not possible to turn off the lights since the room is in a windowless corner of the basement.)

I received these decorations from my parents for a birthday one year.


A student gave me a Mary Engelbreit teacup for Valentine's Day one year and another family gifted me with enough of these little letter people to spell out my name.


I was thrilled to find this wallpaper border, from her collection, in a bargain bin at Home Depot about 10 years ago. I thought it would be cute in the craft room.


Naturally, her books have a special appeal to me and...


this one was a favorite Christmastime read-aloud for my class.


I have licensed Mary Engelbreit fabric, which I used in my quilt project. You may remember my sharing this picture before.


Even my little cuties love the Mary Engelbreit placemat that my sister gave me because it holds their water dish.


So, you can understand why I was quite interested when I received an email advertisement stating that I could see Mary Engelbreit in person at a "meet and greet". Her new line of fairly garden products, called Merriment, will now be carried at the produce market where I buy many of our fresh summertime vegetables, plants, Christmas pine roping, etc.  In preparation for the approaching event, I recently purchased one of the garden fairies. How could I pass up such a cute little reader? I will use her in one of my planters after she is autographed.


Are you filled with merriment today? If not, Mary's pillow says it all...


Tuesday, August 23, 2016

Tuesday's Tablescape

I felt like setting a "beachy" table as summer slows down and Labor Day approaches. Such a table should be outside on a sunny day. Well, the sun was out early this morning, but the skies clouded as I was taking the pictures.


I love the shell print on these placemats, which I received for a "sweet 16" birthday gift. It was a fun celebration in Madeira Beach, FL many years ago!

I selected my clear plates so as not to detract from the placemats. White napkins in my shell napkin rings (from my sister-in-law& brother-in-law) are a perfect match.


Although tough to see, I filled a mini vase with picks which are topped with real shells (also from the FL birthday).


It ended up raining enough this morning that my friend and I got soaked on our walk. What began looking like a beachy day has turned gray and damp. Still...


I hope you can enjoy a beach life day!

Monday, August 22, 2016

Hot Pepper Jelly

Do you like hot peppers? If so, how about hot pepper jelly? I love it, but the other person at my house doesn't care for it! Some Sunday school friends recently shared their abundant produce with classmates. We enjoyed their juicy tomatoes, tender banana peppers...and the hot jalapenos! I decided to use my share of the latter to create some freezer hot pepper jelly.

Hot Pepper Jelly
*6 cups jalapeno peppers, split in half lengthwise and seeded(leave in some seeds to make the jelly hot!)
*1 1/4 cups apple cider vinegar
*1 box (1.75 ounce) pectin powder (I used Sure Gel)
*5 cups sugar
*freezer safe jars and lids

Pulse (chop) the peppers and vinegar in the blender until finely chopped. Pour mixture in a saucepan and add the pectin. Heat until it boils and then add the sugar. Bring to a boil again and boil for a full minute, stirring constantly. Remove from heat and spoon into jars. Leave head room in each jar. Screw on the lid and allow to completely cool to set. Once cool, transfer jars to the refrigerator. This jelly can be stored in the refrigerator for a month or kept in the freezer for up to a year.


Enjoy!


This is what it looks like upon closer inspection. It's excellent spooned over a small block of cream cheese and served with crackers.  I have discovered it to be yummy on my peanut butter toast in the morning, putting a spin on peanut butter and jelly!

I hope your day is a good one!


Friday, August 19, 2016

Did you know?

Before too much longer, it will be time to take care of the summer butterfly décor and begin to prepare for fall. I realized I've never shown many of the vignettes around here even though summer will soon be winding down. There are butterflies inside and out these days.  I'm sure that you, too, are noticing more and more swallowtails feeding on your flowers these warm summer days.  Did you know that butterflies can't fly if their body temperature is less than 86 degrees?


This faux stained glass butterfly was made for me by my cousin when we were preteens! I have always admired the artistic skill and uniqueness of this gift. The vibrant colors also appeal to me. Did you know that butterflies are able to see certain bright colors, such as red, green and yellow?


My friend made this framed butterfly print for me a few years ago. It displays lots of different winged beauties. It's too bad we don't have butterflies yearlong. Did you know that some adult butterflies live as little as a week, while other types live up to a year?


This butterfly flowerpot has been around since I was a child. This is the bird nest fern that we got last spring for our anniversary and it's doing so well that I already needed to transplant it from its original pot to this one. Did you know that butterflies can taste leaves with receptors in their feet? This enables the female to determine if the plant will be a suitable spot for her to lay her eggs so that the baby caterpillars will have food when they hatch.


This little vignette includes a tiny butterfly tray, which was a gift from a friend. Did you know that, depending  upon the species, adult butterflies can be as tiny as 1/8 of an inch while others grow to be 12 inches?


My yellow butterfly plate (also a gift) makes a good focal point on the butler's pantry since it mimics the colors of fresh flowers from the yard. Did you know that you truly can attract significantly more butterflies to your domain by planting flowers which are appealing to them?


My butterfly lace runner is a favorite of mine because it's simple and beautiful. I received it years ago as a Christmas gift and enjoy using it. Did you know that butterfly wings are as delicate as lace and that the brightly colored  unique patterns are made from fragile scales?


This butterfly canister really houses a wonderfully scented candle. Did you know that butterflies have scent receptors in their antennae, mouthparts and feet used to smell so that they can pick up the scents of flower nectar?


Did you deduce that I've always loved butterflies and have a long history with them?

Happy weekend!